In this article, we will look at installing Hadoop in the local machine with single node cluster setup.
For studying & testing purpose, single node cluster setup is sufficient. Let’s look at how to do the installation locally in Windows11.
Installation Steps:
Step 1:
- Install JAVA JDK: Version 8
Download URL: https://www.oracle.com/in/java/technologies/downloads/
- Install HADOOP: Version 3.3.3
Download URL: https://hadoop.apache.org/releases.html
You have to extract the tar files into directory path you want to (I had extracted to D:\hadoop-3.3.3.tar).
Step 2:
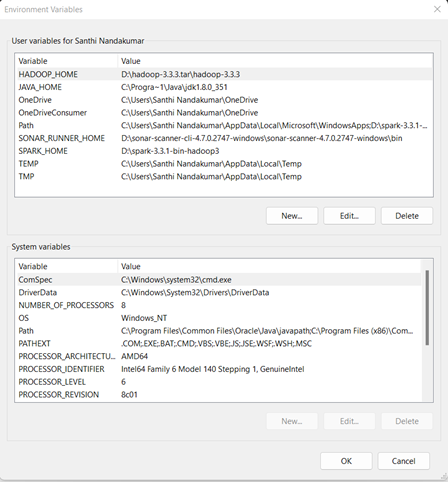
Setup environment PATH variables for both HADOOP(HADOOP_HOME) & JAVA (JAVA_HOME)
Step 3:
Hadoop Configuration updates to be done
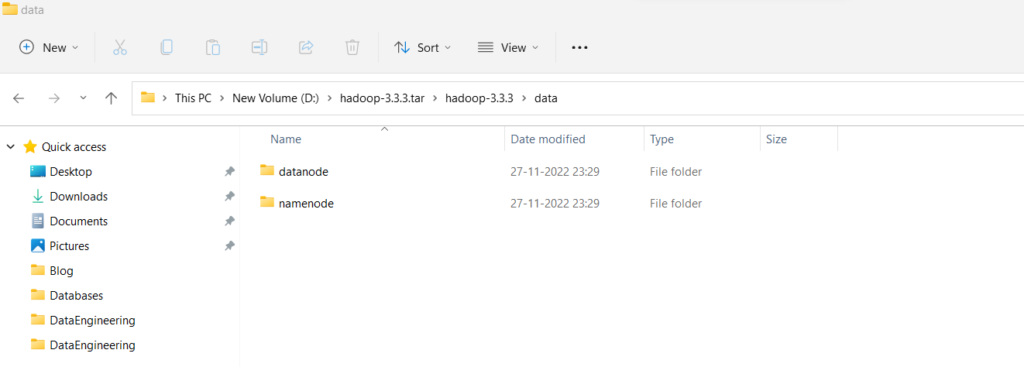
- Create ‘data’, ‘data/datanode’ and ‘data/namenode’ folder under Hadoop installed path.
- Update configuration files (Core-site.xml, Mapred-site.xml, Hdfs-site.xml, Yarn-site.xml, Hadoop-env.cmd) in the below path
D:\hadoop-3.3.3.tar\hadoop-3.3.3\etc\hadoop
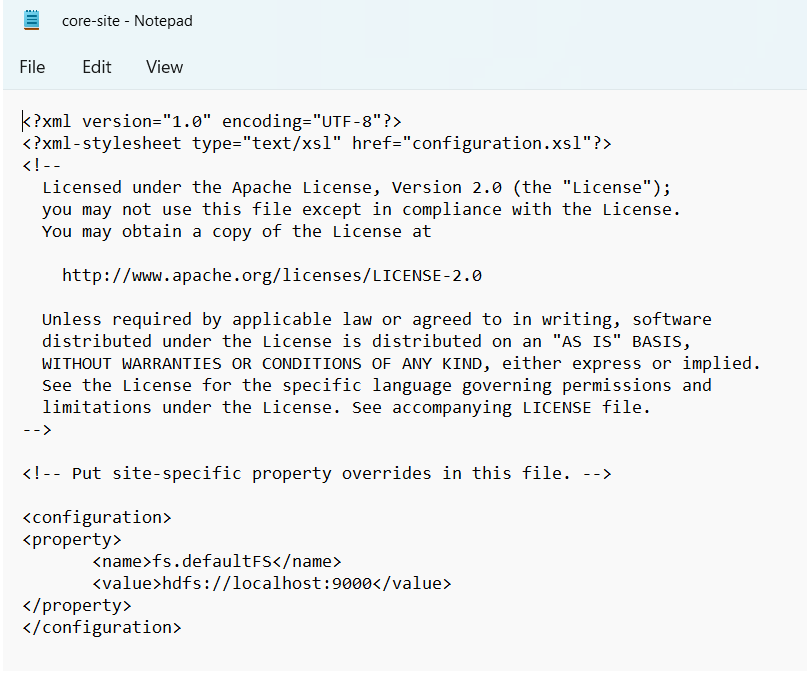
- Core-site.xml
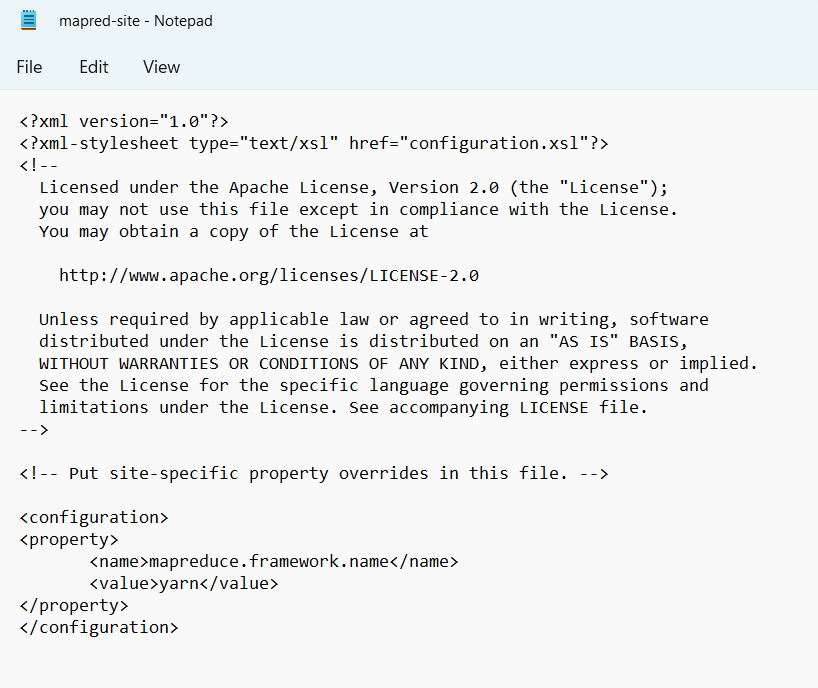
- Mapred-site.xml
- Hdfs-site.xml

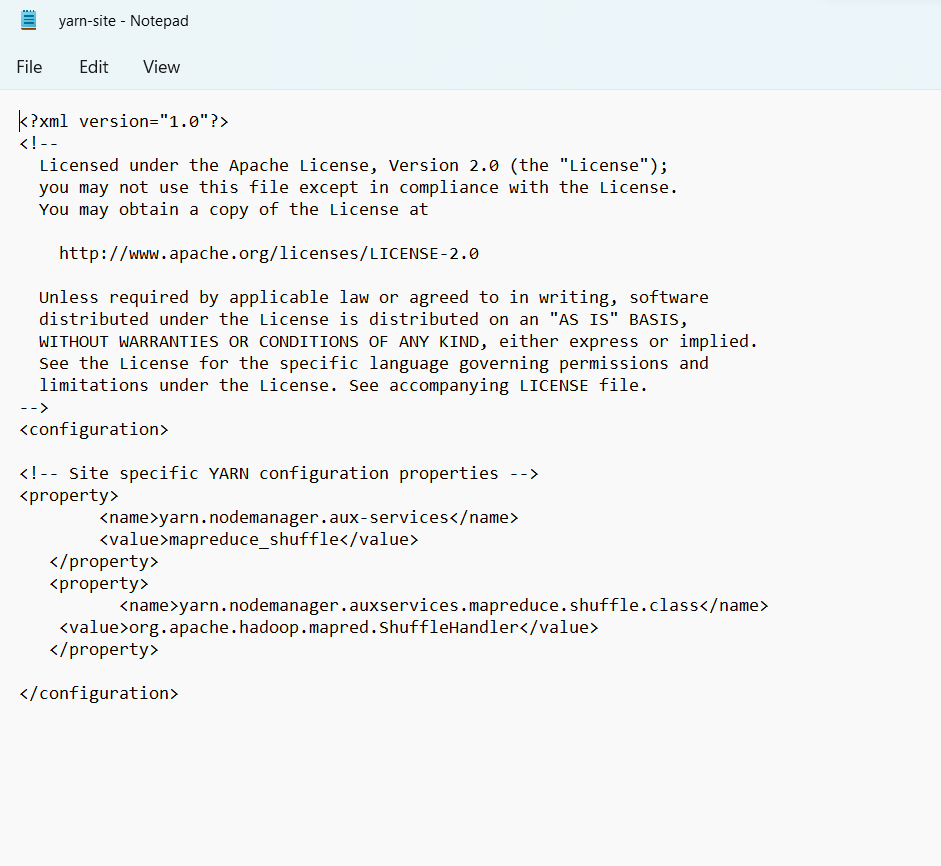
- Yarn-site.xml
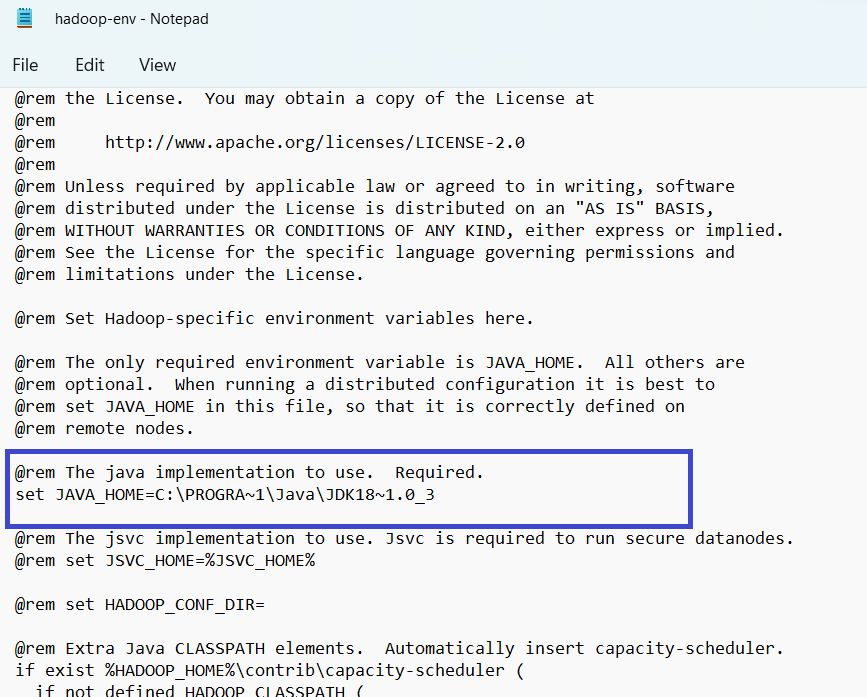
- Hadoop-env.cmd
Update ‘JAVA_HOME’ with java installation file path. I have installed JAVA JDK under ‘C://program files’ folder. As it contains space, have used short path of the installed path
Step 4:
Namenode folder should be formatted with command ‘hdfs namenode –format’
Step 5:
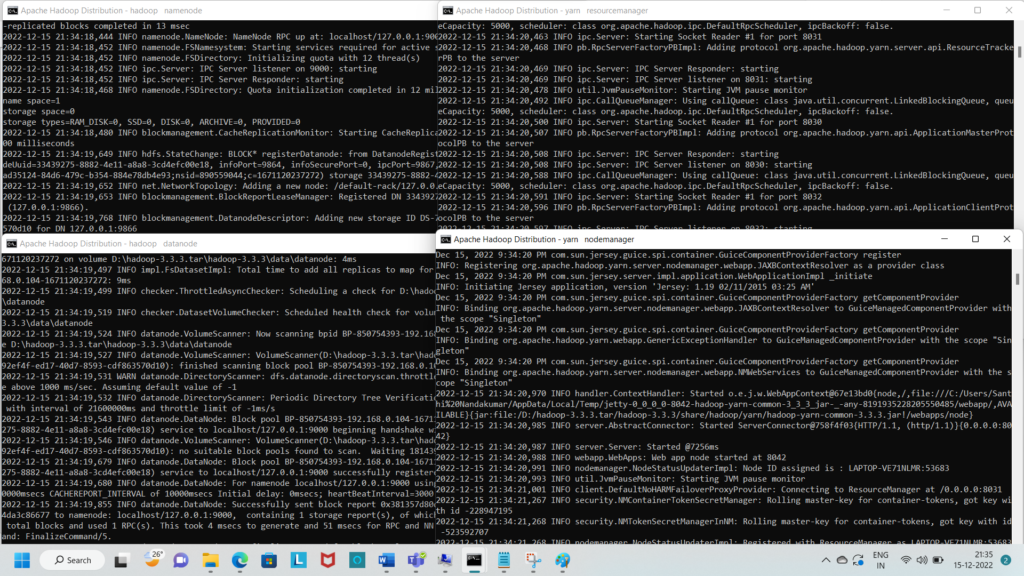
Verify the setup by running ‘start-all.cmd’ command in the following path
D:\hadoop-3.3.3.tar\hadoop-3.3.3\sbin
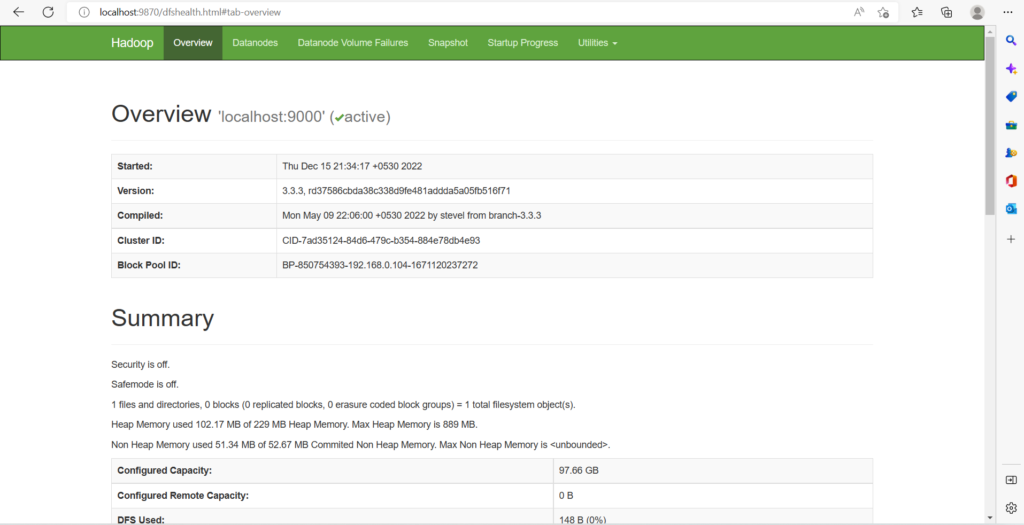
Verify UI by browsing below URLs
‘http://localhost:9870/’ – Namenode/datanode UI
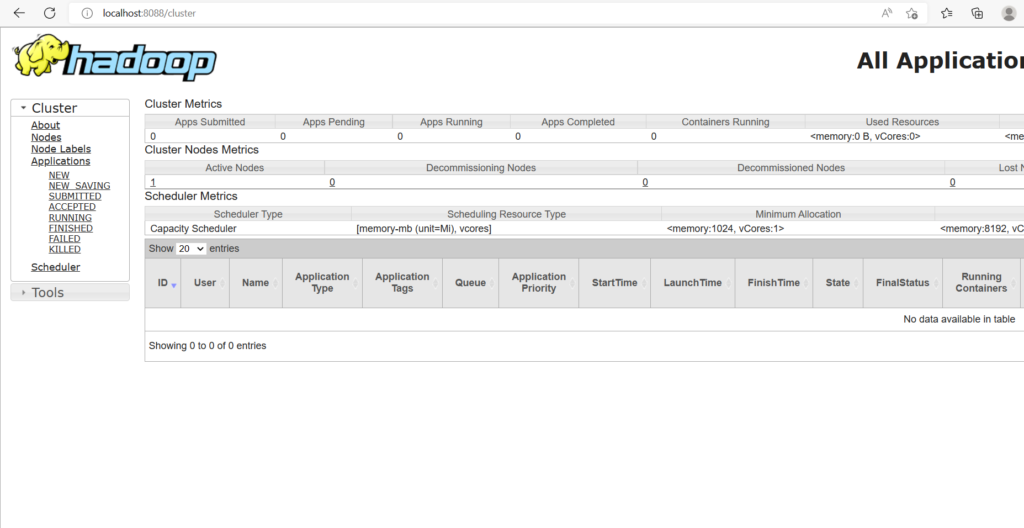
‘http://localhost:8088/’ – Hadoop UI
That’s it. Installation of HADOOP is successful in local machine.
Hope this article was helpful.