In this article, we will look at creating rest API using spring boot in Java.
Prerequisites :
- Java JDK installed
- IntelliJ IDE installed ( Community Editon)
- Spring Initialzr
Below are the steps
Step 1 :
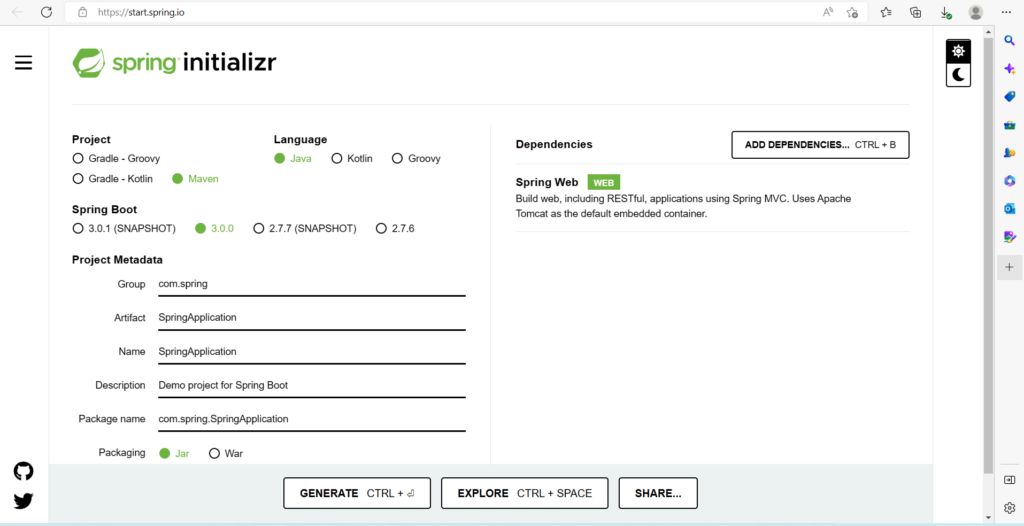
In Spring Initialzr ( https://start.spring.io/) , do the below for creating project
- Choose sprint boot version
- Choose maven project .
- Do configuration for the class, project names etc
- Include dependencies for ‘Spring Web’
- After its complete, click on ‘generate’ button and store the file in your computer
Step 2 :
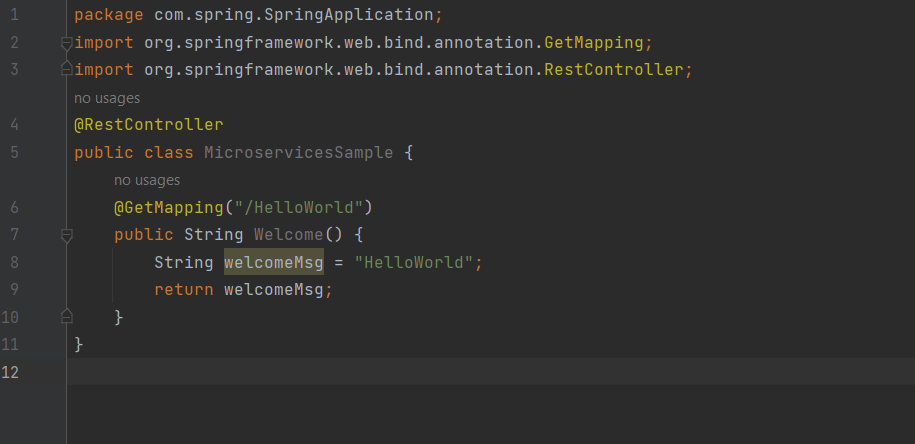
Unzip the downloaded file and open it using IntelliJ community edition.
- Include new class named ‘Microservices Sample’
- Add the below code
New API named ‘Welcome’ created with mapping “/HelloWorld”
Step 3:
Under ‘application.properties’ file, I had placed the below for port configurated with whitelabel disabled.
server.port=8084
server.error.whitelabel.enabled=false
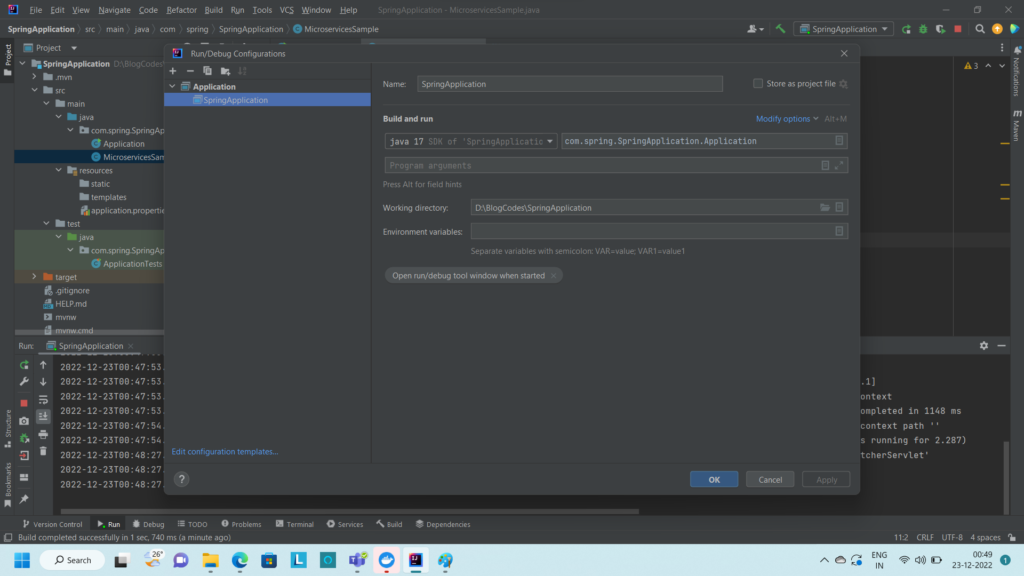
Step 4:
Setup the build configuration through Run-> Edit Configuration
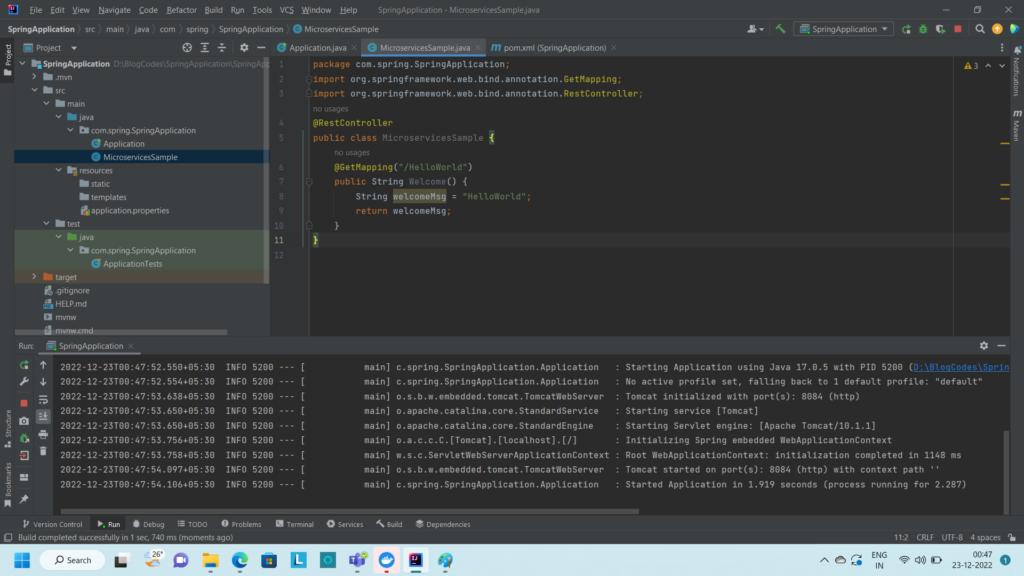
Step 5:
Build & Run the application. It will show the results like below
Step 6:
Validate it by running in browser ‘http://localhost:8084/HelloWorld’
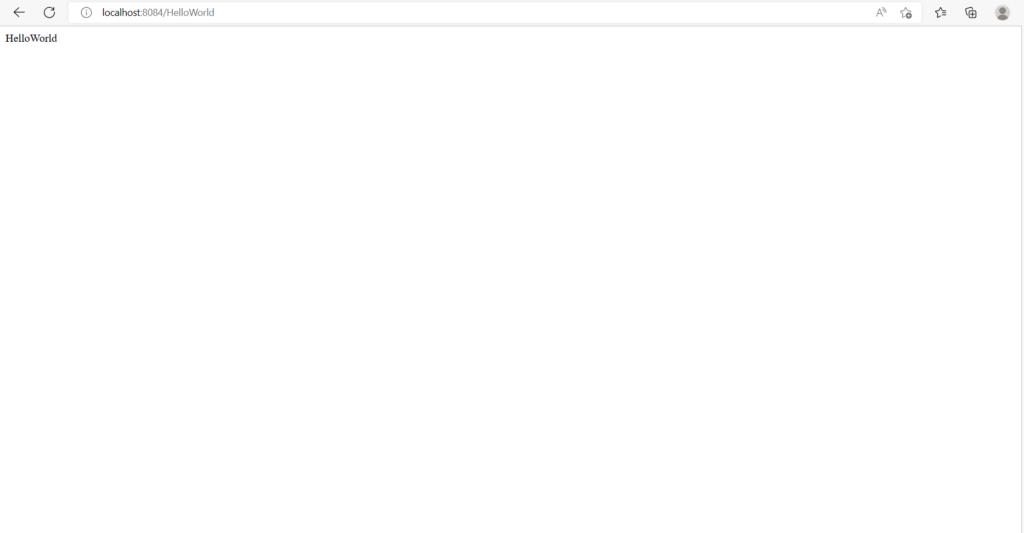
That is it. Welcome API is running successfully. Hope this article will be helpful.